How to Prepare Your Home for a Real Estate Photoshoot
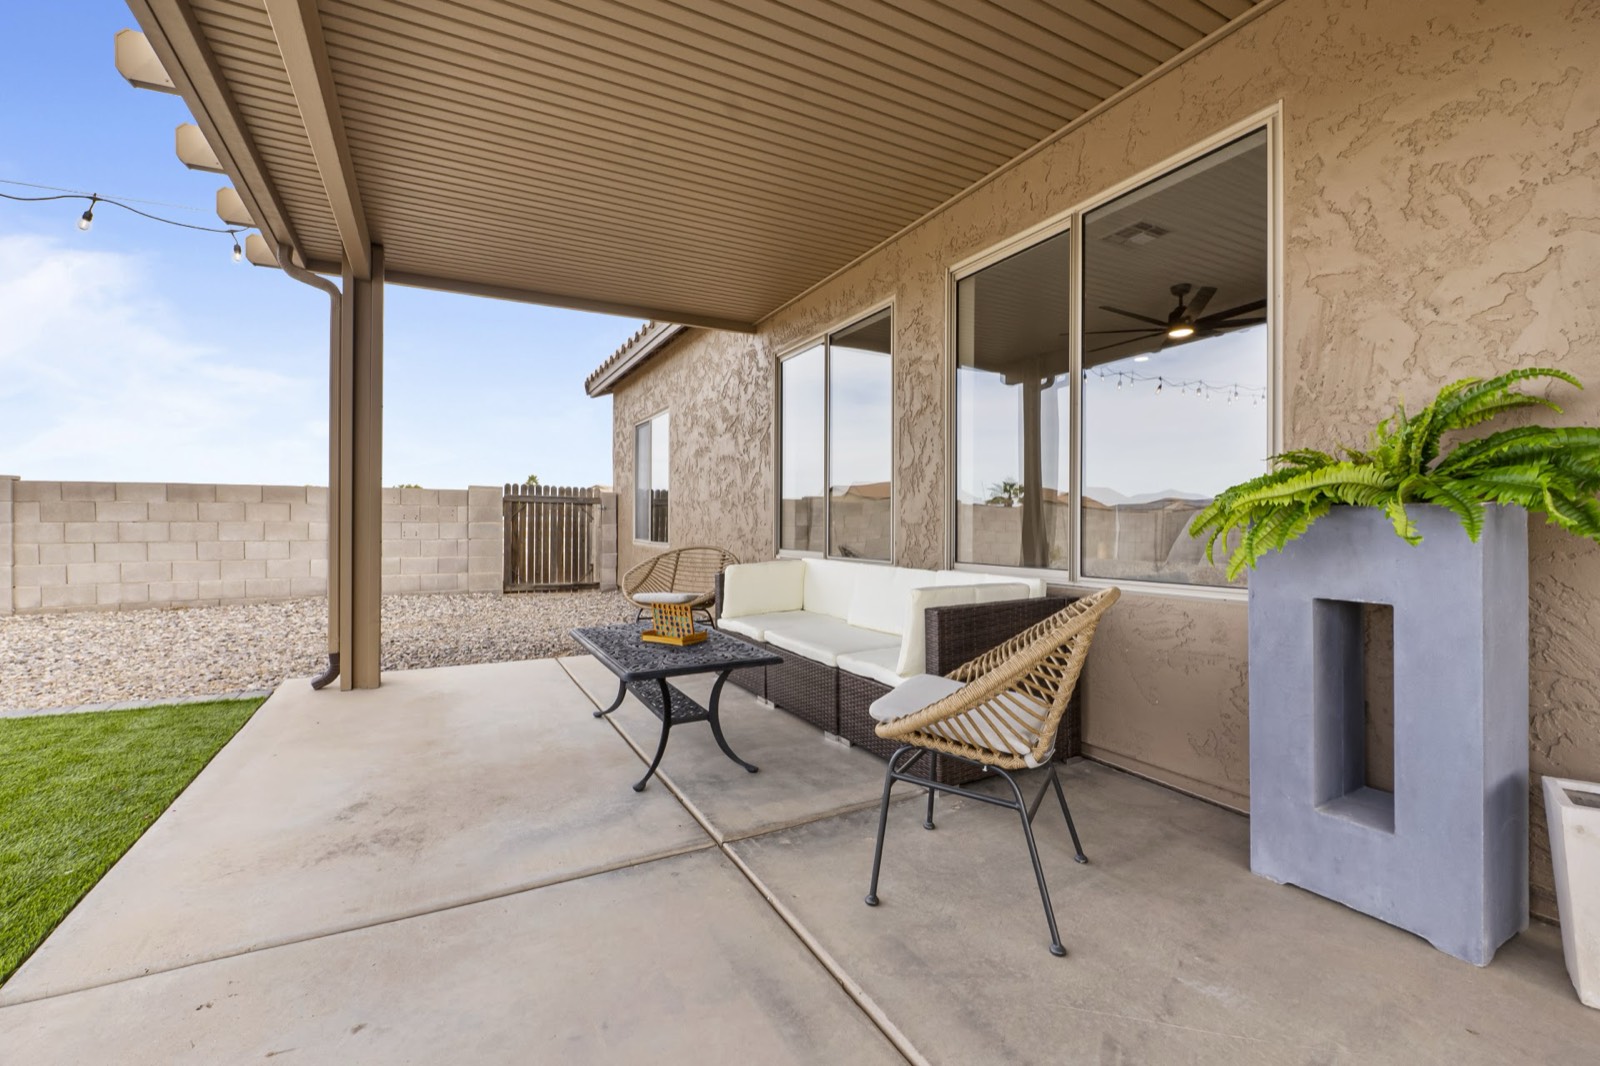
You've hired a professional real estate photographer. Great. But the quality of your photos depends as much on how well you prepare your home as it does on the photographer's skill.
Professional photographers can enhance lighting, composition, and color, but they can't fix a cluttered kitchen or a dirty window in editing. The better your home looks the day of the shoot, the better your photos will turn out. This checklist walks you through everything you should do before your photographer arrives.
General Preparation: The Week Before
Schedule Your Shoot During Golden Hour
If possible, book your photoshoot for late afternoon or early morning when the light is soft and warm. Midday sun creates harsh shadows and blown-out windows. Request a shoot time around 4–6 PM or 7–9 AM for the best natural light.
Forecast the Weather
Check the 7-day forecast and be ready to reschedule if storms or heavy clouds are predicted. Clear skies provide the best lighting for exterior shots. A professional photographer will advise on best timing if weather is uncertain.
Notify Pets and Family Members
Pets can be distracting or unpredictable during shoots. Plan to keep them away, either at a dog park, boarding facility, or a friend's house during the shoot. Family members should make themselves scarce as well. The photographer needs space and won't want people walking in and out during the shoot.
Interior Preparation Checklist
Declutter Every Room
This is step one and the most important. Remove:
- Family photos and personal items from shelves, walls, and tables
- Children's toys, school supplies, and clutter from counters
- Mail, magazines, and papers from surfaces
- Medications from bathrooms (move to closets or cabinets)
- Excess furniture: aim for minimal, open-looking rooms
- Busy or mismatched decorations
The goal is clean, neutral spaces where buyers can envision themselves, not see your family's belongings. Buyers get distracted by personal items and have trouble imagining the space as their own.
Deep Clean
Professional cleaning is worth the investment. Schedule a cleaning service 1–2 days before the shoot. They'll handle:
- Floors (vacuum, sweep, mop, polish hardwood)
- Windows: interior and exterior, especially important
- Mirrors and glass surfaces (streak-free)
- Countertops and backsplash
- Appliances inside and out
- Baseboards and crown molding
- Light fixtures and ceiling fans
- Bathroom fixtures and tiles
If you're cleaning yourself, detail is critical. Dust shows in photos, fingerprints on glass are visible, and dirty grout looks terrible in close-ups.
Master Bedroom
- Make the bed with clean, neutral-colored bedding (white, gray, or soft colors)
- Add 2–3 decorative pillows and a throw blanket
- Remove all personal items from nightstands
- Remove clutter from closets (photographer may shoot inside)
- Ensure windows are clean and blinds are opened
- Remove or hide TVs if possible
Kitchen
- Empty and clean all countertops
- Remove appliances (toaster, coffee maker, etc.) unless they're high-end or brand new
- Clean inside appliances: visible dishes in the oven or dishwasher look bad
- Organize cabinets (photographer may open them)
- Ensure cabinet hardware is clean and shiny
- Wipe down all stainless steel appliances
- Clean inside the fridge if photographer may shoot it
Bathrooms
- Remove all personal toiletries from counters
- Place nice towels (neutral colors, clean and folded nicely) on racks
- Clean shower/tub thoroughly, remove all bottles and products
- Ensure mirror is spotless
- Clean grout in tiles
- Remove bath mats if they look worn
- Close toilet lids
Living Room and Dining Areas
- Remove excess furniture to make rooms feel spacious
- Fluff throw pillows and arrange thoughtfully
- Add a throw blanket to the sofa (makes it look cozy)
- Place a decorative object on coffee tables (a book, vase, or flower arrangement)
- Ensure curtains hang straight and window sills are clean
- Remove electronics if possible (TV remotes, game controllers, etc.)
Lighting Throughout the Home
- Turn on all interior lights during the shoot, even during daytime
- Open all blinds and curtains fully to let natural light in
- Replace any burnt-out light bulbs
- Ensure light fixtures are clean and dust-free
- Consider dimming lights slightly if rooms feel too bright
Exterior Preparation Checklist
Curb Appeal
- Paint front door if it looks worn (bright color like navy, black, or teal stands out)
- Clean or replace house numbers
- Power wash driveway and walkway
- Sweep porch and entry area
- Clean all exterior windows and doors
- Wipe down outdoor light fixtures
Landscaping
- Mow lawn 1–2 days before the shoot
- Edge walkways and driveway borders
- Trim overgrown bushes and branches
- Remove dead plants or brown landscaping
- Add fresh mulch to flower beds if they look sparse
- Plant colorful flowers near the front entrance (adds visual appeal)
- Remove weeds from patio/deck areas
Parking and Obstructions
- Park all cars in the driveway (not street)
- Remove trash cans from view if possible (move to side garage or cover)
- Remove garden hoses, tools, or lawn equipment visible in yard
- Remove children's toys and sports equipment from lawn
- Clear gutters of leaves and debris if visible
Pools and Outdoor Spaces
- Clean pool thoroughly: crystal clear water photographs beautifully
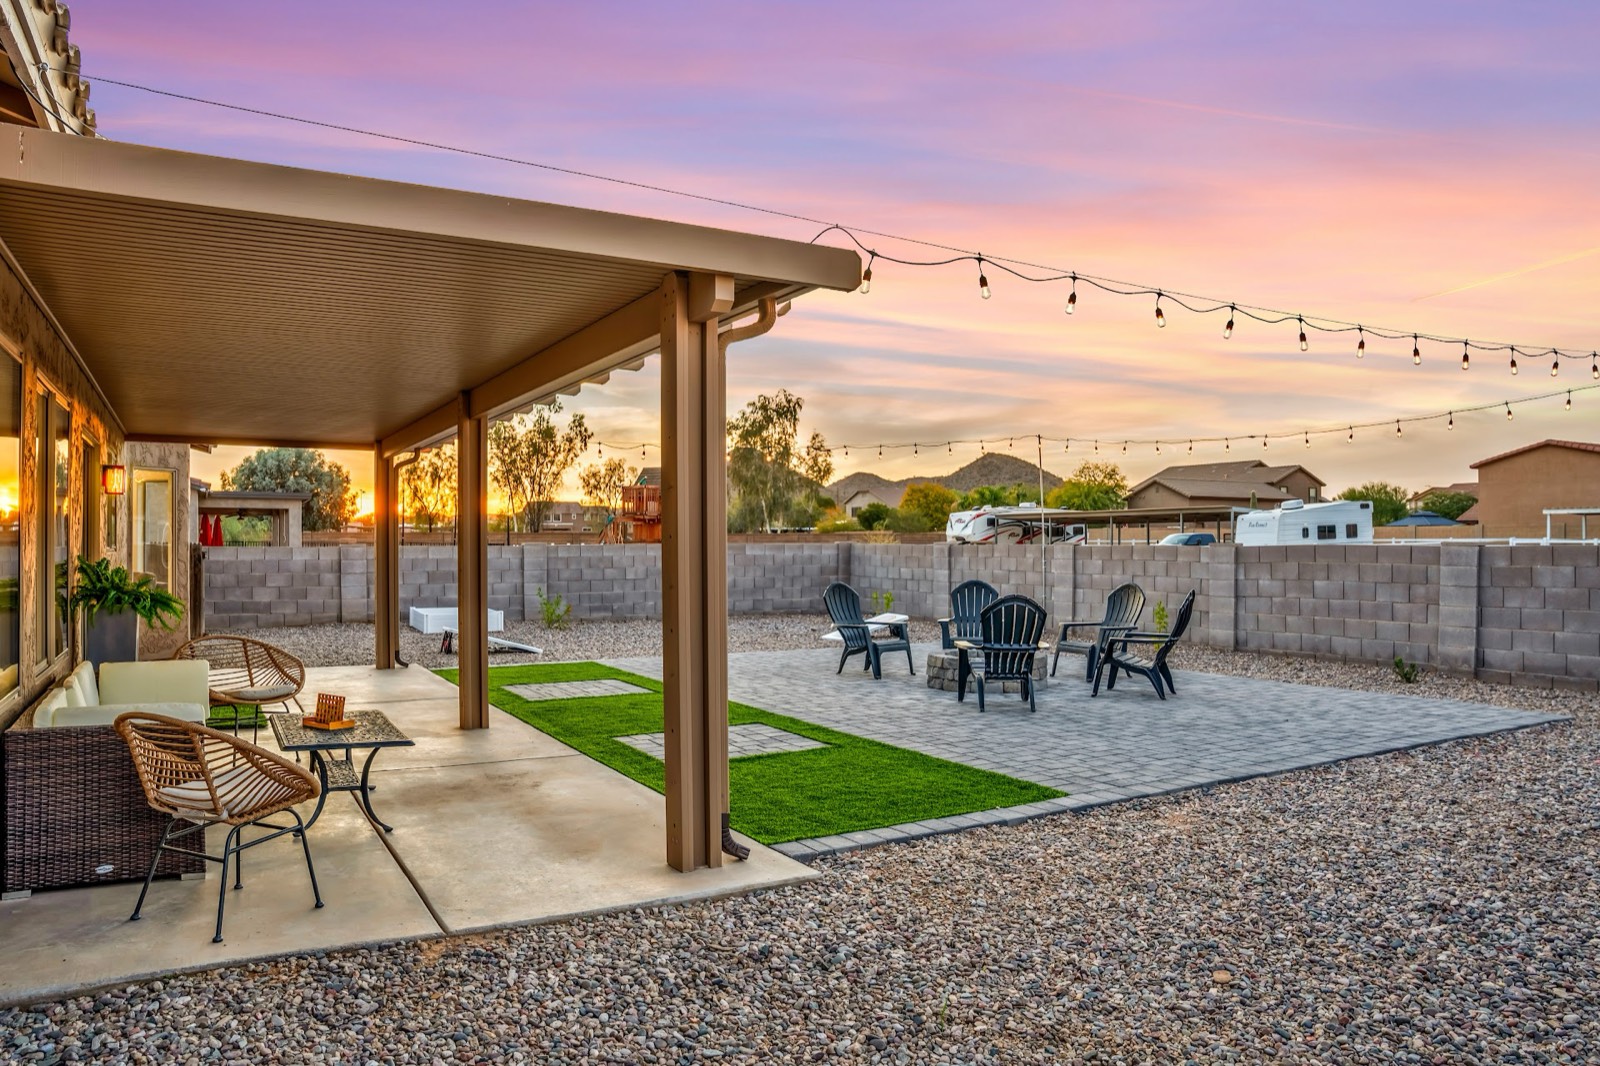
- Clean and arrange patio furniture
- Remove pool floats, toys, or equipment
- Arrange outdoor cushions neatly
- Clean outdoor dining table and chairs
Lighting and Staging Tips
Lighting Priority
Professional photographers will handle most lighting through composition and editing, but you can help by:
- Opening all blinds and curtains
- Turning on all interior lights
- Ensuring no glare on windows or glass
- Removing light-blocking furniture
Staging Without Overdoing It
Staging means making rooms look inviting, not overly decorated. The goal is to show lifestyle appeal while keeping it neutral. Some ideas:
- Fresh flowers in a simple vase on entryway table
- A folded throw blanket on the sofa
- Two–three decorative pillows on the bed
- A coffee table with a coffee table book and a simple plant
- Fresh linens and towels (white or neutral)
Avoid overstaging: too many pillows, candles, or decorations look fake and distract from the home itself.
Day-of Shoot Checklist
- Arrive early: greet photographer at least 15 minutes before scheduled time
- Do a final walkthrough to ensure no lights are off, blinds are open, and rooms are tidy
- Point out any special features the photographer might miss (renovations, high-end appliances, views)
- Make yourself scarce: let the photographer work without interruption
- Be available for any questions but stay out of sight during shooting
- Confirm delivery timeline and how you'll receive final photos
Common Mistakes to Avoid
Overstaging: Too many throw pillows, candles, or decorations look unnatural and distract from the home. Keep it minimal and neutral.
Leaving Blinds Closed: Natural light is crucial. Open every blind and curtain, even on cloudy days.
Ignoring Exterior Details: Buyers see your home from the street first. A dirty driveway, overgrown landscape, or peeling paint on the front door makes a terrible first impression.
Not Cleaning Windows: Dirty windows show prominently in photos and suggest the home isn't well-maintained.
Leaving Pets or Family Visible: People distract from the property. Remove pets and family members during the shoot.
The Bottom Line
Professional real estate photography is only as good as the home being photographed. Spending a weekend preparing your home will dramatically improve your photos and help your listing sell faster. The investment in professional cleaning and careful preparation pays dividends in the quality of your final images.